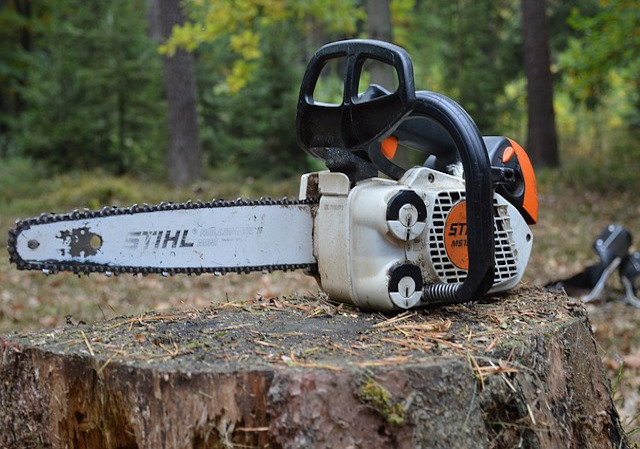
Take off the side plate that covers the saw sprocket and clutch, with saw blade pointing away from you this will be situated on the right and fixed with either 1 or 2 hexagonal nuts.
Now detach the bar and chain they simply lift off.
There should be an adjustment screw situated on the front of the saw to the side of where the saw blade protrudes outwards, turn this anti clockwise almost fully back.
Put the bar back on the saw and seat it firmly pushing it back towards the sprocket, slip the chain over the sprocket and seat it in the groove on the bar.
You should be able to now turn the clutch cover and the chain should move around the bar, replace the side plate securing the nuts finger tight.
Tighten the adjustment screw so it takes up the slack in the chain, holding the tip of the bar continue tightening until you can pull upwards on the chain near the middle of the bar and just expose the drive links to the edge of the bar rim.
Fully tighten the hex nuts on the side plate to secure things.
A final test to ensure that the chain is tightened correctly is :-
Place the saw on a flat even surface ( workbench ) then using a gloved hand grip the chain on the bottom of the bar and firmly push back, if the chain is correctly tensioned the saw should slip backwards with the chain turning on the bar at the same time.
If your saw is of a more modern type the chain tensioner may be situated on the side of the saw, on the side plate but the same principles apply.
Art!
May 2006
