I have the same model, I couldn't find a complete set of directions on the web. So, I put these together after a couple hours of playing around and surfing.
I'll reference the www.Sears.com parts diagram for reference.
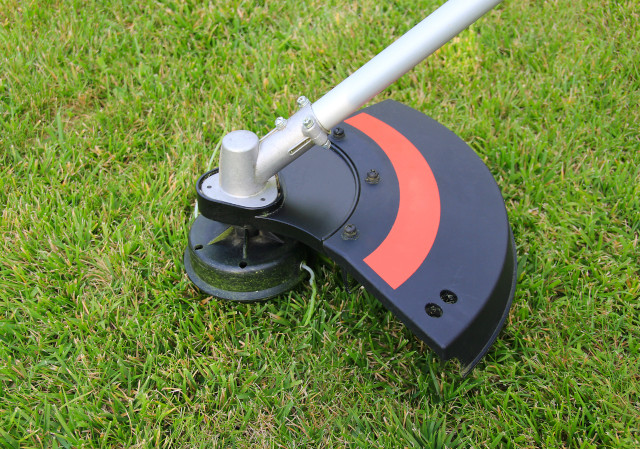
There are two diagrams, one diagram showing the shaft/handle and the 2nd diagram showing the motor/etc.
From the first diagram:
1) remove 9 screws (allen head) from the black handle with the throttle trigger. These will be screws #2 and #4 from the handle diagram.
2) The handle #3 will split into two halves.
3) Disconnect the throttle cable from the trigger
4) Disconnect the kill switch connector. there is a connector half way down the wire.
5) the flex shaft #14 will slide out of the clutch assembly.
6) From the 2nd diagram:
7) There is a black "tip" on the clutch drum #49 that the flex shaft was inserted into. Pull this black "tip" off the clutch bell.
8) Remove the screw down the center of the Clutch drum #49 with a narrow, flat head screw driver.
9) You should be looking the clutch assembly #48. This is the tricky part. The clutch assembly is screwed/threaded onto the spacer #38.
You need a "spanner wrench" to remove the clutch and something to keep the motor from turning while unscrewing the clutch assembly. I figured out a way to do it without the tool, I'll describe below.
You can buy a spanner wrench from ebay or from "LIL RED BARN POWER EQUIPMENT SUPPLY, LLC. (540) 433-6811
775 Pleasants Dr Harrisonburg" or Search on "CRAFTSMAN PISTON STOP & CLUTCH REMOVAL TOOL CHAINSAWS"
I didn't want to spend time and money buying a tool I only needed once.
On the housing #46 there is a "fifth hole " on the front side. Stick an allen wrench or screw driver into the hole,
turn the motor by hand until the motor is held in place. This keeps the motor from turning while we unscrew the clutch.
The clutch #48, in the center, has two, half circles on either side of the shaft. From your work bench, Take two screws, about 1/4" dia. stand them up in the clutch half circles. Take a pair of locking,vise gripe pliers and pinch the screws against the clutch.
With the motor not spinning, loosen the clutch with the vise grips.
There was an rotation arrow on my clutch "OFF", counter clockwise.
9.5) The clutch unscrews, lift off the clutch. Getting the clutch off was the biggest mystery.
Now just for the pain in the neck stuff.
10) remove 4 screws # 45 from the front side of the housing.
11) remove 2 screws # 17 from the rear of the housing.
12) remove the housing.
13) Do NOT remove the baffle plate #40
**** Caution - underneath the pulley #42 is a spring-loaded
"Spring-Starter" #43, this thing will unwind faster than you can say "what". Just warning you. ****
14) Using the tiniest fingers around (my wife and kids) Fish and Insert rope through the housing, into the slot in the pulley, wrap rope around the star screw that holds the rope to the pulley.
Tighten the star screw onto the starter rope.
17) reverse the instructions for re-assembly.
Bassbin1000
September 2007
 howtomendit.com for free repair help, information and advice.