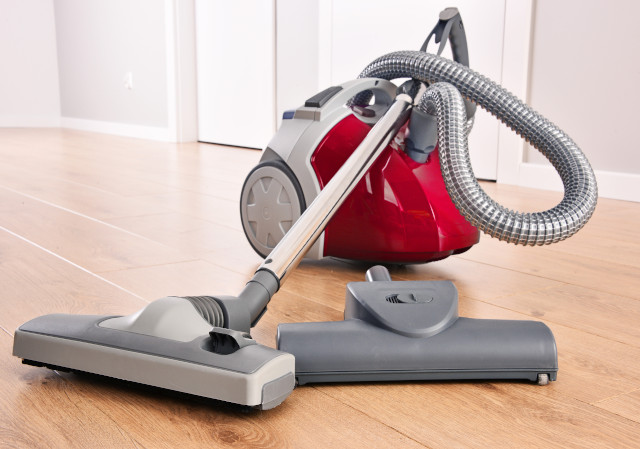
Here is a reliable method of removing the yellow switch cover without breaking anything.
1. Get hold of a 120mm length of 1.6mm diameter sprung steel wire. I got some from a model shop.
2. Make a bend 20mm from the end at about 45 degrees.
3. Make another bend at the same end 6mm from the end by a further 25 degrees.
4. Use a good light source so that you can clearly see down the side of the switch cover.
5. Use a small terminal screwdriver to gently open up the gap between the flat side of the switch cover and the grey surround.
6. Insert the 'release tool' that you have made sideways into the gap.
7. Rotate the tool so that the bent end pushes against the barb on the switch cover. The 'shaft' of the tool should locate in the small notch in the grey surround.
8. You should be able to see the barb getting pushed in. You can continue to use your terminal screwdriver to help hold the gap open so that you can see what is going on.
9. Using a narrow wood chisel between the switch cover and the surround at the front of the Dyson, carefully lever the cover upwards. Wear some protective gloves if you think that you may slip with the chisel!
10. As soon as the barb has passed the lower edge of the surround you can remove the release tool and the cover will come out easily.
11. You now have access to the switch and cables.
Kevin
July 2005
