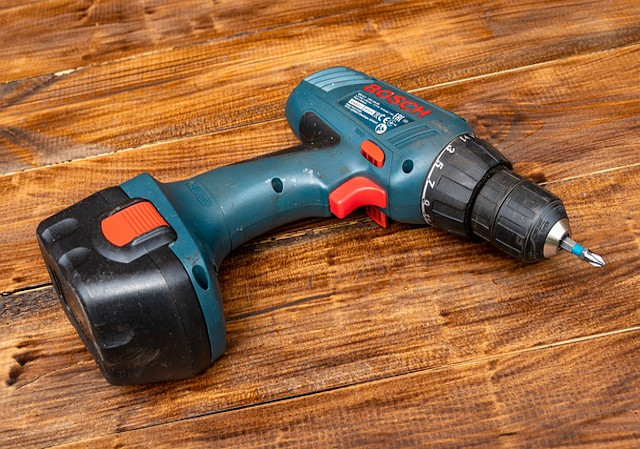
The chuck is the 'vice' that holds your drill bit in place. You should see several holes (usually 3) around the edge of the chuck, about 5mm in diameter - these holes will be just above a row of little teeth. You should be able to put the little stubby end of the chuck key in one of these holes, so that the little teeth on the chuck key engage with the little teeth around the circumference of the chuck. By then turning the key anti-clockwise (you'll need to use some strength - drills need to be held tight so they don't spin in the chuck) this should release the (usually 3) jaws that are holding the drill bit tight. Once freed, you should be able to spin the outer ring of the chuck by hand, releasing the drill. When putting in your replacement drill, make sure it's central within the little jaws in the middle of the chuck or you'll struggle to drill neat holes - and make sure the chuck is tight. And DONT FORGET TO REMOVE THE CHUCK KEY BEFORE TURNING ON THE DRILL. It will fly out at several '000 RPM's and cause injury.
Good luck, chuck !
DIY guy
May 2008


