Recent: How to recoil the starter spring - Champion R484TR?

Mend Hotpoint Tumble Dryers

Mend Household Appliances, Tumble Dryers
Find out how to mend it for free.

Ask Question
Mend Household Appliances, Tumble Dryers
Free repair help for Hotpoint tumble dryers

Mend > Tumble Dryers

Mend Household Appliances, Tumble Dryers

how to fit a new belt to hotpoint tumble dryer vtd00?

how to fix belt

michele
November 2007
Thanks Steven, using the hoover tube works a treat. Wasted a few hours before reading this and my neighbors children have learnt a few new words in the process. Great post thks

Nick
September 2010
The hoover pipe trick worked great - job toook an hour to complete - thats because the hoover pipe popped off the motor shaft and i had to start again. It would have been a lot more vocal and verbally foul if I had struggled without it and adfor the lbood sports.. one skinned knuckle trying to get the black outlet pipe to line up with the front panel....great tip

Gavin
February 2010
Thanks steven tierney (December 2007), jobs done!
A bit of a blood sport putting the belt on, down to all the metal thats not been de-bured. Hotpoint realy dont make any effort to over enginner enything, must have been made on a buget of 2p.

richard moore
December 2009
Just like to add this to the steven tierney's answer. First always make sure the appliance is unplugged from the mains before ANY work is started. When moving the front panel their are three wires connected to the sensor at the bottom of the front panel in the middle, an earth yl/grn, a white and a blue. It is easiest to make a note of the positions and remove these, gives more space to move the front out of the way. The trick with the hover tube to put on the belt works great. When putting back together, it is easier to leave out the vent pipe, then once you have checked that the dryer is working, remove the vent locator/connector at the rear. This is fixed with one screw and two locking lugs, remove the screw and just prise the lug with the screw hole in it and the other lug opposite, away from the machine and turn the vent as if you were taking out a light bulb. you can then easily relocate the vent pipe and refit the vent.Whole job took about an hour.

neil
May 2009
Thank you very much. Had spent ages struggling to do this through the small hole at the back. Worked great!

Chris
July 2008
i followed the above and found it easy to do untill i put it back together. It worked foist time i turned it and turned but i smelt some thing burning and then it turned of and the siodes dont go in properly?
Any ideas??

joanne bwoen
January 2008
hi i had the same problem but the guy in the shop where i bought the replacement belt from was good enough to borrow me a tool (£30 deposit mind) that hooks on the bottom of the dryer an lever the belt in place. my problem now is that the drum is lobsided and it wont spin does any1 no how this can be an could i easy sort it out ty in advance.

steven tierney
December 2007
OK this is how to replace the belt without distirbing the wiring and unlike the other answers this is step by step start to finish.
Step 1.. with the dryer in the upright potition remove the two top screws on the rear end of the lid then slide the lid backwards this will dettach the lid.
Step 2.. Lay the dryer on its back(best on a rug or some cardboard)
In the bottom plastic plate on the front underside there are 3 slots if you gently push a flat head screwdriver in each slot in turn you will be able to remove the plastic plate. This exposes 4 screws remove the screws.
Step 3.. If you look at the top plastic plate with the controls from the inside of the machine at the end nearest to the drum you will see 2 simalar plastic tabs. Gentle push the tabs and the top control plate will release. AT THIS POINT BE CAREFUL AS THE WIRING IS ATTATCHED TO THE BACK.Swivell the control plate round 180 degrees using the wiring end as the pivot point. Either get sombody to hold the control panel in this position or place a chair next to the dryer to support the panel. This will now expose 2 more screws remove these screws also( the side panels will go a little floppy but dont worry they are supported from the bottom.
Step 4.. Now slide the front plate with the door in it back towards the top of the dryer 4 to 5mm now the front plate is loose. ALSO BE CAREFUL AT THIS POINT AS WIRING IS ATTATCHED. The wiring is attatched to the bottom right corner of the dryer so rotate the front plate round 90degrees using the bottom right corner as a pivot point and get somebody to support it or place it on a chair next to the dryer being careful not to stretch the wiring.
Step 5.. The drum is now exposed so this is a good time to look down the sides of the drum for the old snapped belt and remove.
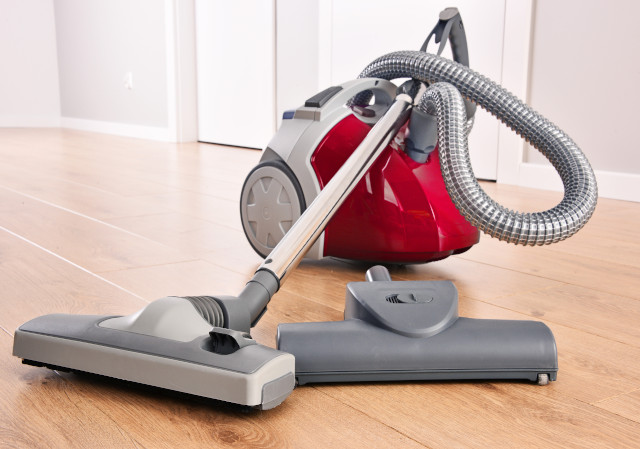
Then take the replacement belt and place it round the drum ridged side inwards. You will see a black marked ring around the drum where the old belt used to be. slide the belt down until it is 3 inches above this mark. At this point although it looks like the belt is too small dont worry its not its a stretch belt. Now for the tricky bit ( i didnt find it too hard ) you need a tube 1 to 3 foot long. some people have suggested copper pipe but i used a metal extension pipe from the vacume cleaner. place the pipe between the drum and the belt get somebody to support the drum in place and prize the bottom of the pipe over on to the motor spindle ( bottom right of machine) now graduly push the belt down the pipe and the drum a little at a time working evenly around both. I found it helped to spin the pipe a little at the same time ( same principle as replaceing a pushbike chain) when the belt is almost in position hold the belt down and carefully slide the pipe out the belt will now be in place. You may need to spin the drum a little by hand to make sure the belt is in line with the black belt mark on the drum.
Step 6.. Now this is the bit i found tricky. whilst replacing the front cover ( remember the wiring ) first locate the ventalation pipe into its hole on the inside bottom left of the front plate when in place get somebody to push down on ot to hold it in position. Now you have to locate the fuzzy ring on the inside of the front plate just inside the rim of the drum.
Step 7.. Now all that remains to do is replace the screws and covers in reverse order. and thats it you can now get rid of that big pile of damp cloths that you had building up. Good luck

Dan Gainer-Lane
November 2007
you will need to remove the front of the machine but make a note of the wiring for the door switch. when you fit the front back on there are nylon bearings mounted in the plastic frame. if you have difficulty it is because one of these bearing have moved. they will not fall out they are secure but they can move in the lugs preventing replacement of the front. i have just replaced the drive belt thinking i could get away without removing the wires unfortunately the came off.
when you have done the job will you tell me the wiring sequence starting from the door working to the right of the dryer as you stand facing it please.

graham
November 2007
Mend Household Appliances, Tumble Dryers
Free repair help for Hotpoint tumble dryers

How to mend ...

Find out how to mend just about anything howtomendit.com for free repair help, information and advice.
Mend Household Appliances, Tumble Dryers
Free repair help for Hotpoint tumble dryers