Recent: Fix food processor motor?

Mend Blenders/Mixers

Mend Kitchen Appliances, Blenders/Mixers
Find out how to mend it for free.

Ask Question
Mend Kitchen Appliances, Blenders/Mixers
Free repair help for blenders/mixers

Mend > Blenders/Mixers

Mend Rubber Drive Replace

Installing Oster blender rubber drive coupling?

How do I remove the square drive pin on my old Oster blender and replace the rubber drive coupling?

Naomi
August 2007
One can also install two nuts with the fan removed tighten them against each other and loosen the lower nut which is now locked in place by the one above it, no damaged threads or messing around

Carlin Wilkin
May 2014
Does the flat part of the coupler face up or down for the Oster blender. I had to pull the coupling off with vice grips because it split in half. So I do remember which side is up or down...

Sam
November 2013
Thank you for the vise grips procedure to remove the coupling, it works very well, so the repair was quick.

Katy, Tx
May 2013
Thank you all for the input on this thread. I had beaten my brains out working through how to get the motor side of the broken coupler off without damage. Using a crescent on the fan blade shaft did the trick for me (while using channel locks to break loose the coupler).

Robert
February 2013
We have a very old Oster Blender model 810. It has left thread on the couple both ends. I ordered a new coupler but it came with righ threads. No one beleives me when I tell them it has left thread and I can't find the part.

Stan
March 2012
i got it succesfully. same procedure as steve but added two things. first soaked square pin drive upside down with a derusting fluid to lossen up. Second I wrapped shreaded bolt without the fan with fine copper wiring. No damage to the shreded bolt copper will take the brunt.

domingo
September 2011
Ok, guys. I tried this before my husband got home. I had it taken apart but I dropped the motor and the threads on the shaft got bunged up. How do I go about fixing that? Neighbor said tap & die?
Thanks, Terri
terafferty at yahoo dot com

terafferty
September 2011
I just repaired our 20+ year old Osterizer blender doing much of what is described in other answers here. But here is the trick I found that is not mentioned...to remove the coupler without stripping the threads from the bolt at the fan end, I used VISE GRIPS. At the bold end, wrap the threaded part with a piece of rubber but leave the flat part exposed. Then firmly attach a small vise grip (you may need to purchase at your local hardware store, but these tools are worth having around!). Attach a larger vise grip to the old coupler that is rusted on. Then - turn both vise grips in opposite directions (normal unscrewing direction) and wahlaa! the coupler will come loose and unscrew!!! My old, repaired blender is working beautifully now!

Steve L
June 2011
Used the same dis-assembly procedure as outlined above. Soaked rubber coupling threads for 2 hours in olive oil. Did not come loose. Spindle threads were totally stripped by vice-grips, even with a roll of tin for protection. Will need to buy a new blender...

Dave Soltz
June 2011
Regarding how to remove the coupling, after removing the motor (as described above), remove the nut holding the fan in place - gently remove the fan and washer (I had to "unscrew" the fan from the threaded axle). The axle should have flattened sides, with no threads in the way on opposing sides, and you can then use a crescent wrench to hold this end without damaging the threads, while using a pair of pliers or channel-lock to unscrew (counter-clockwise) the rubber coupling assembly.

Needless to say, re-assemble in the reverse order of disassembly....

My Oster is somewhere around 5-8 years old, so this new axle setup may be a new feature.

Randy Medd
December 2010
My coupler broke in half so the squar pin and slinger
were already off! To remove the lower half or the
coupler I used pilers to secure the lower coupler
piece and I removed the 4 screws holding the moter
houseing, removed the motor,removed the fan and
nut on bottom end, cut a small piece of tln can,
folded it over a couple times and applied it to the threads on the opposite side of the shaft as the flat
on the shaft, Note this is to protecr the threads
as I apply channal locks (pliers) to secure the
shaft to use the pliers to remove the coupling.
Note the folded piece of tin can did completely
protect threads on the shaft,no thread damade seen!

Herman Anthony
October 2010
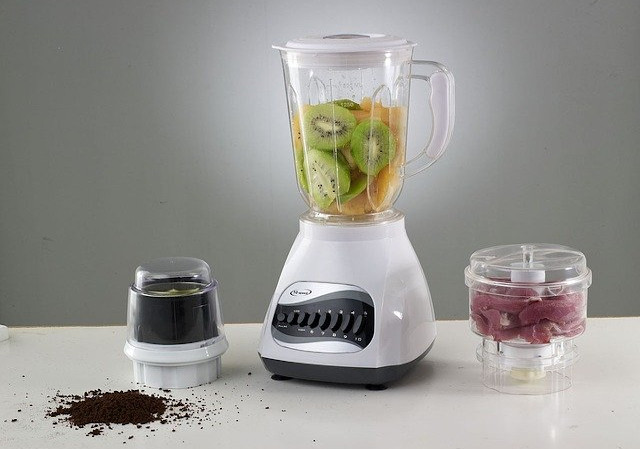
Threads are right-handed on Oster blenders.

I did not have to remove the motor on my model 6650. To hold the shaft in place while unscrewing the stud, I stuck a screwdriver into the rubber of the coupling. There is enough space to do this under the metal disc (washer?) of the stud assembly. An awl might be better.

To remove the coupling, you do have to take off the bottom of the housing (three or four Philips screws, depending on the model of blender). At the bottom of the shaft, there is a nut holding on the fan. Gripping that nut with one pair of pliers, I unscrewed the coupling with another pair of pliers. (The coupling sticks out of the upper housing far enough to get a grip on it). The fan nut did not come off.

Dave
September 2009
As with Dan I have my blender for the last 18 years and don't quite trust the new " boys in the block". I did also had problem removing the half attached to the actual motor. I used a silicone base lubricant and after two minutes of soaking I was able to remove the coupling without damaging the thread at the fan's end.

Max Hillhouse
January 2009
right or left hand threads?

jack Wright
September 2008
You will have to take the thing apart.

NOTE: unplug everything first.

My '80s era Oster had three philips screws on the bottom. When the bottom is off you should be able to hold the fan and twist the square drive and cover off the top of the coupler. You can now see the top of the old coupler.

Then you will see four hex head screws (the ones with big black tops that look like washers) inside required to remove the motor. Once you have the motor off you "should" be able to hold the cooling fan on the bottom while you twist the rubber coupling off.

Then replace and reassemble, screwing the square drive pin and cover into the other end of the coupler after you have the motor back in the body.

I had a well used unit where the engine end of the coupler was stuck and I had no way to apply enough force to the coupler without stripping the threads on the end that holds the fan.

I guess the lesson is check/replace your coupler at least every decade.

dan
August 2007
Mend Kitchen Appliances, Blenders/Mixers
Free repair help for blenders/mixers

How to mend ...

Find out how to mend just about anything howtomendit.com for free repair help, information and advice.
Mend Kitchen Appliances, Blenders/Mixers
Free repair help for blenders/mixers