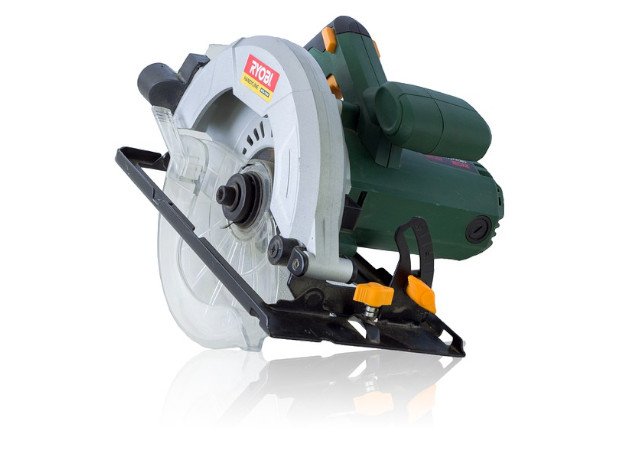
OK, I figured it out too. Here's how I did it, for anyone else who comes along next.
First you unscrew the cover protecting the belt assembly, presumably to reveal the broken belt therein.
It seems you can't just slip the new belt over the two spindles - one of the spindles must come off, well almost off (I will explain). I chose the front one - the one connected directly to the blade - as it is easy to stop the blade spinning by holding it down on a block of wood.
A small bolt and washer must be removed before the spindle itself can be 'unscrewed'. It has a reverse thread so screws opposite to the normal sense. That is, it unscrews clockwise. Mine was screwed on pretty tight (as it screws on every time you start the saw), so I had to use a rubber jam-lid opener to loosen it.
When you have loosened it, and screwed it off, here's the trick. Screw it back on again a few threads. Now fit the belt so it goes around the front spindle, and around the edge of the back spindle. There only has to be 5-10mm of belt on the back spindle at this time. It will work it's way on as we re-screw the front spindle back on its thread.
Screw the front spindle all the way back on and the belt on the back spindle should be on now too. Replace the locking bolt and washer, and the belt assembly cover. Don't try to force the belt on or off over the lip on the front spindle. It's likely the damage the belt. Let me know how you get on.
Shannon
January 2013
