I have taken the plunge, bought a bearing replacement kit and... ...the fitting went fine.
Purchase a suitable bearing replacement kit. Not cheap and with remarkably poor instructions - but that squeak is so bad!
Unplug and move to space.
Remove top (2 scews) and sides (3 screws each then lift them).
Remove rear air-space cover (many screws - 3 longer ones at the bottom).
Free rear panel of machine from the two top+side spars (two screws at back of each+push inwards to disconnect - need to free rear of water collector tank on one side too).
Free cable on motor side by lostening top clips and pushing through 3 rear clips carefully with pliers. Also disconnect mains cable (turn mounting joint 90degress and disconnect 3 cable joins).
Remove central nut (12mm). This is the back of the bearing. There is a washer too between this nut and the rear panel.
Remove the air-fan (12mm nut) from lower left corner.
Remove other screw holding rear panel to machine on lower left corner.
Gently lean the rear panel back from the machine - freeing it from the bearing. You can complete the job with it just leaned back - or you can lift it and take it to one side.
There is also a washer on the inside of the bearing and the rear panel. Relocate this from wherever is has dropped to/rolled of too!
Free the motor tension spring too (pinch and pull plastic clip at base of spring).
With the rear panel free, you can now see the bearing bolted to the centre of the drum. If it is any thing like mine you can already see it is in a mess!
Remove the bearing from the drum (3 10mm bolts).
My instructions say 'absterge' the drum bearing cup. It means 'to make clean by wiping'. New word to me. So, clean up on the rear panel and drum bearing cup.
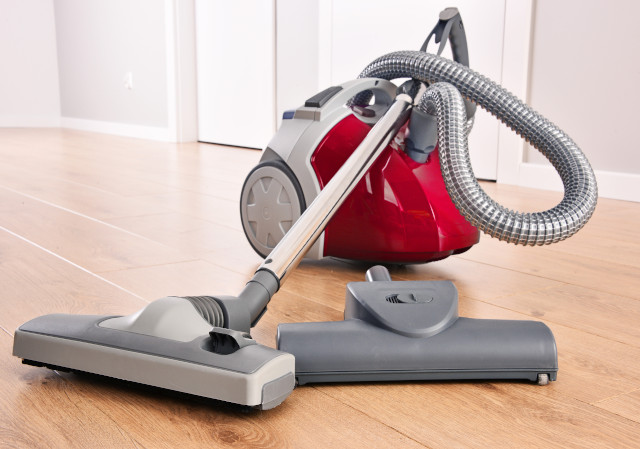
This is also a good opportunity to clean the dryer up generally - I used the vacuum cleaner and got in to just about everywhere - in particular around the front and rear rims of the drum.
Install the new bearing - applying the grease as described in the instructions.
Reassembly is straight forward too - just reverse through the steps.
Points to not especially on reassembly though...
Remember the washers on the bearing on the inside and outside of the rear panel.
Rember to connect and clip the cables.
To tighten the air-fan nut, use a small spanner to hold the motor shaft towards the front of the machine where there is a flat spot on it.
To tighten the bearing nut note the end of the bearing is squared of so - get a grip on this to get the tension on the nut.
Rember to put back the motor tension spring.
Oh - and enjoy the peace and quiet after the job is done!
Dave J, UK
June 2010

 howtomendit.com for free repair help, information and advice.