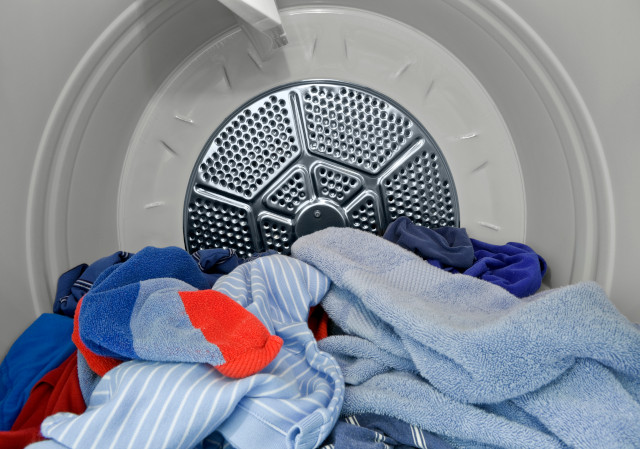
TD590 appears to come in 2 flavours – either with a tensioner (needing a longer belt 1884H5, this description) and elsewhere a “simple design” -no tensioning pulley -belt simply round the single motor drive spindle and drum (1830H8?). The number appears to correspond to the belt length in millimetres.
This description covers 1884H5 with (assumed) differences for 1830.
It is necessary to separate the drier case, so enough space is needed to lie the drier down.
Time taken - 60 minutes.
Difficulty – Easy for someone with reasonable DIY skills
Tools used:
7mm and 8mm sockets
Adjustable spanners,
Large flat head screwdriver
Needle nosed pliers
Bubble wrap for protection
Parts used
Replacement drive belt
Small cable tie
Note - I take no responsibility in any way for anyone trying to repeat this exercise following this diary. This reports what I did. It is not an instruction manual. This is what I did.
Preparation
1. Emptied drier of the last load of clothes.
2. Unplugged drier from the mains electricity.
3. Removed vent trunking.
4. Removed top by:
a. undoing two rear self tapping screws (7mm) and
b. sliding lid back and removing.
5. Old belt had dropped into bottom, checked part number and ordered a new one to match. (This model seems to have been fitted with different belt lengths depending on the Part Number on the label inside the door. Even with the PN, some websites quoted the wrong length as suitable, I decided to go by what was last fitted, not by website/catalogue. Mine needed an 1884mm length, 5H, which is printed on the belt.
6. On receipt of replacement…
Dismantle
7. Cut the cable tie that holds the cable loom to the side of the drier to allow sufficient slack (only needs a couple of inches) to release the front half of the case later.
8. Laid drier on its back on bubble warp or similar protection to avoid damaging the rear of the machine.
9. Removed 3x7mm screws holding on the bottom plate.
10. Patience required. Removed the two rear plastic feet by levering with the screwdriver and removed with an unscrewing action, they came eventually.
11. Removed the two front adjustable feet by unscrewing and removing the adjustable feet (2 spanners were required) then, with pliers, pinched the lugs either side of the threaded hole on the remaining portion of the feet to release the retaining plastic wings. Levered with the screwdriver and removed with an unscrewing action, they came out eventually. Sounds more complicated than it was.
12. Removed bottom panel.
13. Took the opportunity to remove the mound of drier fluff that had accumulated around the base of the machine.
14. From the bottom of the machine, removed a 7mm screw on each side panel a few inches up holding the front and rear half panels together where they overlap.
15. From the top of the machine, removed the two 7mm screws in similar places.
16. The machine had now lost its rigidity, but remains in one piece.
17. From the top, studied the securing arrangements before, removing 8mm screw and 7mm screws (on each side) through the metal brackets joining the front and rear halves of the case together. These frames fix the top half of the case together. The case was now released. Some reports on the web suggested only 3 screws (a 1880 belt model, I think).
18. Carefully lifted the front half of the drier an inch or two to separate it from the rear half allowing me to drop the new belt over the drum from the top easing it down passed the dust seal through the door. Note - the three way vent duct simply pulled apart near the front as the front and rear casing separated.
19. Once the belt was around the drum and clear of the dust seal, dropped the front half of the case back down into place (needed to jiggle the vent duct to align it before both halves fitted). To rebuild, it was pretty much a reversal of the above, but for completeness…
Rebuild
20. From the top, replaced 8mm screw and 7mm screws (on each side) through the metal brackets joining the front and rear halves of the case together.
21. From the top of the machine, replaced the 7mms screw on each side panel where they overlap.
22. From the bottom of the machine, replaced the two 7mm screws in similar places.
23. Replaced the bottom panel, 3x7mm screws.
24. Replaced the two rear plastic feet by push fit.
25. Replaced the two front adjustable feet by push fitting the holders and screwing the adjustable feet back in.
26. Lifted the drier upright.
Sort belt
27. Although the 1880 instructions I’d found said they couldn't get the belt over the drive spindle (so they removed just the two screws on the motor mount on the drive spindle side & eased this mount outwards in the direction of the spindle which pops out of three lugs in the top casing allowing the belt to be slipped on then reverse the procedure) I found that all I had to do was lift up the big guide pulley against the force of the tensioning spring to put the drive belt in a big “S” over the drive spindle (small grooved) and around the tensioner pulley. I chose to put the “teethed” side of the drive belt against the drum.
28. At this stage, I decided to check the machine turned by hand and aligned the drive belt to run square (rather than skew) around the drum.
29. Considered giving it a trial run on power before replacing the lid. It worked.
Finishing up
30. Refitted the cable loom with a new cable tie
31. Replaced the lid
32. Replaced the drier in position and refitted vent trunking.
33. Cleared away tools.
Mark
November 2007


