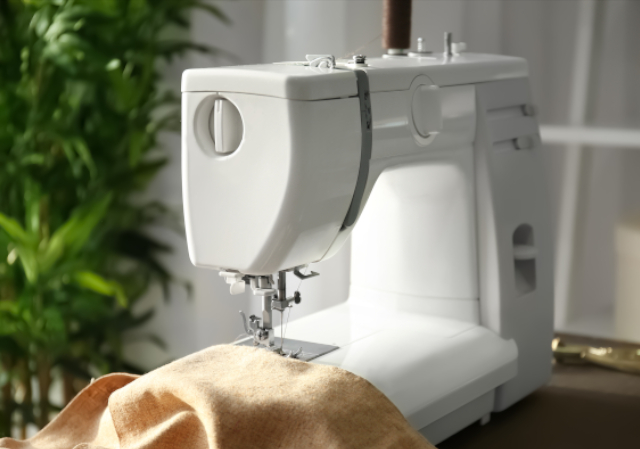
This is a year late, but just in case. My mother had exactly the same problem with her 6690, I managed to fix it today. If you're handy or have someone handy around it's actually not _that_ hard to fix.
What happens is that the thingamabob (excuse my lack of technical terms as english isn't my first language) that controls stitch length and direction has lost lubrication. The little grease that's left has become "sticky", so the stitch length and direction is basically stuck.
It'll be a bit tricky to explain without pictures, but I'll try. I won't go into great detail how to remove covers, because I suppose one needs to be at least handy enough to do that in order to fix the rest :)
--
You have to remove the back cover plastic, and the (short) side cover plastic (where the spinning wheel is, the spinning wheel has to be removed first). The large back cover having a total of 3 screws, on is a smaller silver/gray one a little hidden on the short side.
NOTE: one of the screws that fastens the large backcover, the black screw on the left side if you're looking at the backside of the machine, should not be pulled out. Only unscrew it completely but leave it in the plastic, because there's a little plastic pipe around the screw on the inside. I didn't know this and it fell off inside the cover, so I had to remove that circuit board to get it out. Easy but can be avoided.
NOTE2: my back cover seemed to be stuck in the corner near the power plug connector, on the under side of machine, around that area, are two little holes. I just stuck a screwdriver in there, pushed a little up and levered a bit to press the cover sideways.
--
On the short side is now a cirtuit board visible, where the on/off switch is also attached. This has to be removed by 2 screws. NOW here's how to find the part with the bad grease. The top screw where this circuit board is fastened, goes into a 6-sided little rod. This rod is black iron and about 1 inch or so long.
At the other end of that rod is a silvery/gray metal piece (the above mentioned thingamabob) that's supposed to tip back and forth different amounts. How much it tips controls stitch length and depending on which side of it's center/upright position controls reverse/forward.
The rod is basically the "hinge" on which this thingamabob can rotate on. A motor is contected to the thingamabob through some other metal axii and springs.
--
The problem should be that the grease has gone bad, so the thingamabob is hard to rotate, so hard that the motor can't do it anymore. For me in the begging it was even so resistant that I could hardly move it myself, because I was a bit too careful, not knowing whether it should be a moving part or not.
The solution is to pull out the rod (since the curcuit board is removed it can be pulled out to the side). Before being able to pull it out you also have to loosen a fixation screw, it's the big one that goes perpendicular the goes into the framework piece where the rod also goes through. Should be fairly obvious.
One should try to hold the thingamabob in place with something while pulling out the rod, so it or the brick doesn't fall anywhere. Once the rod is out I just stick a small scredriver in there to hold everything in place.
--
Now I cleaned the the rod, greased it with new grease (not oil or other lubricants). I also used a q-tip to clean out the inside of the thingamabob (while holding it in place with a tool in the other hand). As a bonus I put a little grease on a q-tip and repeated the cleanout 2 times, to remove any particles and grease it up.
Then stick the rod back, make sure the thingamabob now moves easily, fasten the rod fixation screw and close up the machine again. Voila!
NOTE: when finally attaching the spinning wheel again, it can be attached in two positions only. One of them is correct and is not. In correct position the needle position switch will work as intended, if it's wrong the needle position switch will end up reversed. So just put the wheel on without screwing it tight, and turn on the machine to check if the switch matches reality, if it doesn't then alter the wheel's position and you're done.
diyguy
February 2010


