I found this information posted and have not yet tried it myself. Hope it will be helpful. Also there is someone on ebay that is offering a fix for a fee.
Symptoms: clock and radio display either partially fading, sporadic or completely out but radio, CD and cassette still working.
Note that I have no experience as an electrician or a car stereo repairman so some of the descriptions below are plain English and not what the professional might call them. I post this as a suffering Nissan Quest owner to help my fellow sufferers. This worked for me, but no guarantee it will work for you or how long this will last before the solder burns out again. The instructions are very detailed so amateurs can try to fix this problem.
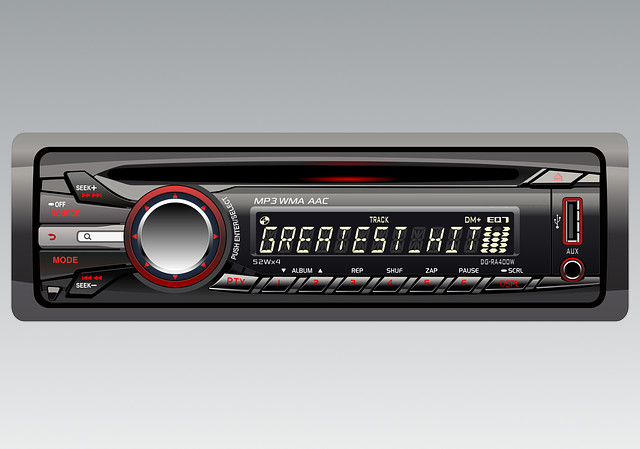
In order to get radio out, you must remove trim panel. All you need is a Phillip's screwdriver. The trim panel goes around radio, heat/A/C controls and top three air vents. It is all one trim piece. The top three air vents are part of the trim panel and will come off with the trim panel.
1. To access two trim panel retaining screws remove cupholder and ashtray unit, slide out all the way then reach in and push in tabs on side. Whole unit should then slide out. Remove two Phillip's screws on bottom left and right that hold trim panel on .
2. The trim panel is now only held in by tabs. Pry off right side about half way up with your hands. Then pry off left side. It will still be held on at the bottom. On bottom there are three slots on the trim panel, the three tabs are on the dashboard and face IN towards the engine. So to get the trim panel off you have to push the bottom IN. There are two tabs on right side, two on back of trim panel (one on bottom of radio right side and one on left side) and one along left side below vents. These line up with holes in the dashboard (or whatever you call what the trim panel goes in to).
3. Once you have trim panel off, then you should see 4 screws holding radio in. Remove all four, be careful not to drop the ones on the left side as they could fall in and never be found again (as I did the first time).
4. Slide radio out, remove antenna plug from back right side (right as you look at the radio). Remove three wiring harness plugs from back left side. The one on top has tab on the top, the two on the bottom have tab on the bottom. Push or pull these tabs and grip wiring harness on sides to slide out. They should slide out easily if tabs are out of the way. Slide radio out.
5. The actual repair does not take long, it is getting to the weak solder circuits that is the real work. First remove tiny black screws on both sides of radio faceplate using mini Phillip's screw driver, similar to one for fixing glasses.
6. Pull up 2 black tabs on each side of faceplate to clear the metal retaining tabs that are part of the radio housing.
7. Wiggle off the faceplate but do not pull far since a series of blue wires is attached to it (no need to remove any knobs).
8. The blue wire harness you want to remove is plugged into the socket in the middle. Grip the white harness that the blue wires go into and wiggle it out of socket. The other set of blue wires just goes from top of faceplate electric or circuit board (whatever the correct terminology is) behind volume control to the bottom of faceplate electric board.
9. After faceplate is removed, pull off metal top of radio housing, by gripping in the middle front, this will bow it in the middle and give clearance for the tabs on the side of the metal radio-housing frame.
10. The electric or circuit board you need to remove is the one that the blue wire plugs into. There are two small metal retaining tabs that need to be bent out of the way to remove the board. The first is in front next to where the blue wires plug in. The board is colored white beneath it, green most everywhere else. This one is easy to bend to side. The second one is tough, look in the semi circle in the thin metal cover from top and you will see it, again on a white background. You need long nose pliers to bend this towards side of radio so it lines up with slot in the electric board.
11. Remove orange screw from back right of heat sink that screws into copper colored clip at rear of electric board.
12. If the 2 small metal tabs are lined up correctly, and the back right screw removed, you should be able to reach in the semi circle hole with a finger and pull the electric board up and out. You may have to wiggle it a little to get the tabs to line up. The thin metal cover with the semi circle is only welded to the board so be gentle.
13. Once you have the board out, turn it over, with the blue wire facing you, look for a series of numbers and letters on left side, stacked on top of each other, about 2 inches down left side. The numbers and letters on mine from top to bottom were R1057, C1071, R1058, C1083, R1064 (you can find this info on Ford repair websites, the Nissan Quest is a Ford product). At this point you have done most of the work. I have little experience with soldering electric circuits so I contemplated taking the board to local car stereo shop but then thought I'd give it a try first with a cheap Radio Shack soldering pen. Above the numbers, there are five stacked connections or soldered circuits, mine were brown in the middle and looked slightly burned. I used the pen soldering iron to put just a small amount of solder on each one. When finished, I used a tiny flat screwdriver (the kind that come in a yellow box set at Home Depot) to scrape between the solder connections to make sure I did not cross one to the other. This is the real repair work and only took a few minutes. How dealers can charge $100's of dollars to do a few minutes work is beyond me. As a Nissan Quest owner, we have all suffered enough so I hope this works for you.
14. Replacing the board into the radio was a little difficult. I slid the board in from the front so that the board was just above the two metal tabs that you bent out of the way to remove it. This way, the quarter inch round hole in side of thin metal cover (the one with the semi circle on the top) will line up with the circular rivet/tab on side of radio metal housing. Line up the two metal tabs you bent out of way and push the board down and bend the tabs back in place. Replace the orange screw from back into the copper colored clip at back of board.
15. Plug in blue wires to face plate and reattach faceplate with two tiny black screws.
16. Replace radio in minivan: plug in antenna, plug in wiring harnesses, two bottom ones tab faces down, top one tab faces up. These are different sizes so you can't mix them up.
17. Slide radio in, test that everything lights up on display and replace four screws.
18. Replace trim panel, slide in bottom and pull back towards you so the three tabs on dashboard go through the three slots on trim panel.
19. Use your hand to pop the tabs on trim panel back into the dashboard.
Jerry
July 2006
 howtomendit.com for free repair help, information and advice.